

At the end of this VERY LONG post... you will find the recording of part of the broadcast where we decorated the cut cake box.
This post goes into great detail on how I created this BE MINE file so you can create something similar on your own. Have a ScanNCut machine and would like the file? Please email me and I'll send it to you for your personal use. Enjoy. And Happy Creating!
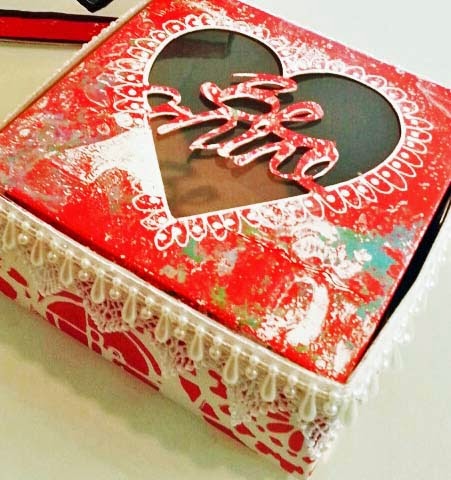
Creating a custom BOX TOP file with the Brother ScanNCut
Using a Sharpie, Write your message on a white piece of paper and scan it in the ScanNCut Machine. Be sure to save it to a USB and take it to your computer.
At your computer, log into ScanNCut Canvas (scanncutcanvas.brother.com)

Select NEW and then Click on the Import SVG icon and open your scanned file.

Hand drawn scans often create extra cut lines. Select your image and drag it across the screen to highlight any of these extra lines. Once your image is clear of the extra lines, select and delete them.

Select the Heart from the Basic Pattern menu located on the left side of your screen.

Drag the heart so that is overlaps the sentiment. While the image is selected, right click and Send to Back.

Holding the shift key down, select both the heart and the sentiment. When both are highlighted click on the Remove Overlap button.

Drag, drop and delete the extra lines this process creates.

When finished, select the Project drop down box and then click Download for ScanNCut.

Right click on the Untitled fcm link and Save File As to a USB so you can take it back to the ScanNCut Machine to cut your box top.


Select the tools button

Then the resize button
So the image lays the proper way on the box top we'll need to rotate it
Click Left 90 degrees TWICE to flip 180 degrees total. Okay, then Okay two more times to get to the main screen.

Place your unfolded box on a standard mat and load into the machine. Make sure your blade is set correctly - mine was set to 10 but TEST on similar weight card before using to make sure if you wish.
Once the mat is loaded, scan it by pushing the scan icon then the green Start/Play button.


For finer placement... use the move keys if you wish.

Then select Cut and Start


Then you're all set! Assemble the box and have fun decorating!


1 comment:
FABULOUS!
Post a Comment